
Good morning Zutter friends,
Pinky here with a fun "interactive" banner today.
When I saw these pink O'Wires I instantly wanted to make a fun project
after thinking for a couple days I decided to make a banner, and what better
way to incorporate the amazing Bind-It-All to make it multi purpose!

The front of this banner makes a cute girl's banner, but if you
flip the back page over it's the perfect party banner. You could do this with seasons,
holidays, party's, names...just imagine the endless possibilities.

Step 1. Create your banner pieces, for this banner create 10 (5 for Party & 5 for name).
Step 2. Cut 10 alternating pieces 1/2" smaller.

Step 3. Stitch each individual piece together. (Sort)

Step 4. Depending on thickness separate into 3-4 pieces for use in Bind-It-All machine.

Step 5. Punch amount of holes needed using Bind-It-All.
 ]
]
Step 6. Empty punched paper from side of Bind-It-All.

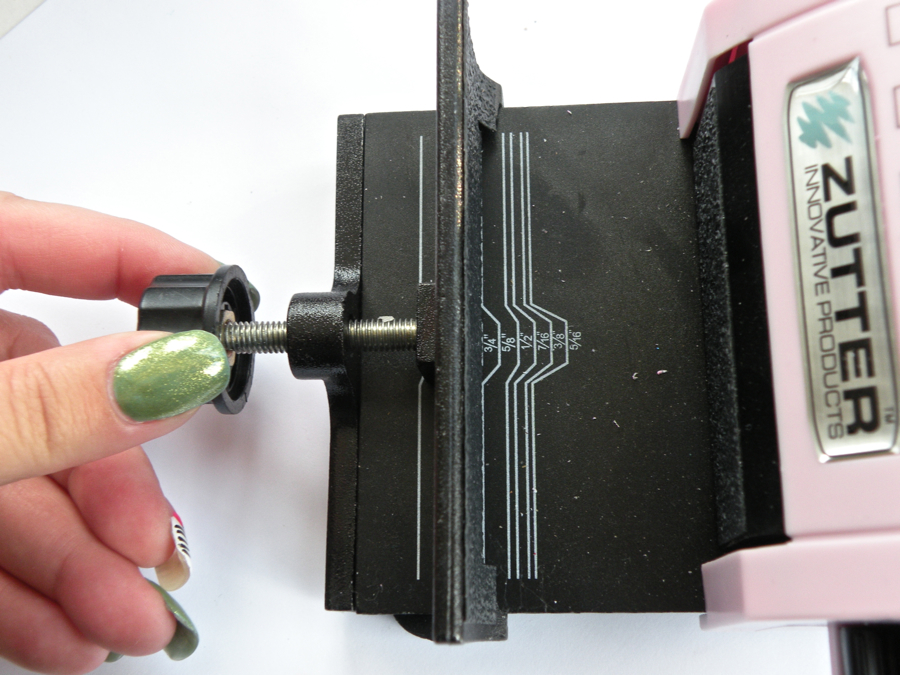
Step 7. Adjust Zutter Bind-It-All to 3/4" for 3/4" O'Wires
(size according to what chosen O'Wire is)
Step 8. To ensure proper O'Wire placement, bring the back banner
(PARTY) to the front and press handle firmly.

Step 9. Flip front of banner back into place, and embellish.
Step 10. Thread 1 1/2" vintage lace through each binding.
Step 11. Using same lace- tie bow in between each banner piece.

Here you can see each side of the banner. 

Just have fun with it! You could make it with 4-5 layers if you
come up with the right words and pieces!


I hope you enjoyed today's idea.
Until next time-

2 comments:
wholey cow this is so creative!!! Definately thinking outside the box on this one. I love it!
what a fantastic idea!!! might have to have a go at that one xx thanks for the inspiration
Post a Comment