Showing posts with label Pink O-Wire. Show all posts

Tuesday, August 7, 2012

Spinning Round and Round

Hi everyone!  Nancy here today to share with you something a little different that I made with some of the super fun goodies from Zutter.  This month I decided to make something completely different with my chipboard, wires and bind-it-all.
I  started by cutting a piece of a chipboard cover into a tea cup shape with my Cricut and attached a closed one inch pink OWire that I had gently stretched to the lip of the cup.
 I closed a number of other pink OWires and attached them to the saucer of the cup,
 and then went crazy with the embellishments.
 This cute little mobile is what emerged.
I had so much fun with this and can't wait to share it with my niece.  It will be perfect for her room.

Supplies Used:


Hugs.

Nancy Keslin
homesclscrapper.blogspot.com


Friday, June 29, 2012

Switch It Up-Multi Purpose Banners!

Good morning Zutter friends, 
Pinky here with a fun "interactive" banner today.
When I saw these pink O'Wires I instantly wanted to make a fun project
after thinking for a couple days I decided to make a banner, and what better
way to incorporate the amazing Bind-It-All to make it multi purpose!

The front of this banner makes a cute girl's banner, but if you 
flip the back page over it's the perfect party banner. You could do this with seasons, 
holidays, party's, names...just imagine the endless possibilities.

Step 1. Create your banner pieces, for this banner create 10 (5 for Party & 5 for name).
Step 2. Cut 10 alternating pieces 1/2" smaller. 
 Step 3. Stitch each individual piece together. (Sort)
Step 4. Depending on thickness separate into 3-4 pieces for use in Bind-It-All machine.
Step 5. Punch amount of holes needed using Bind-It-All.
]
 Step 6. Empty punched paper from side of Bind-It-All.


 Step 7. Adjust Zutter Bind-It-All to 3/4" for 3/4" O'Wires 
(size according to what chosen O'Wire is)
Step 8. To ensure proper O'Wire placement, bring the back banner
 (PARTY) to the front and press handle firmly.
Step 9. Flip front of banner back into place, and embellish. 
Step 10. Thread 1 1/2" vintage lace through each binding. 
Step 11. Using same lace- tie bow in between each banner piece. 
Here you can see each side of the banner. 
Just have fun with it! You could make it with 4-5 layers if you
 come up with the right words and pieces!

I hope you enjoyed today's idea. 
Until next time-


Tuesday, June 26, 2012

Oh So Sweet, Cupcake Recipe Display

           Hello Friends! Heather here to share a super fun and quick project that makes a great gift for the baker in your family. Using the Display-it-All I created a Cupcake Recipe book for my sister in law who makes the most amazing cupcakes (especially the Resse's with peanut butter frosting, yum!!) I whipped this project up in under two hours and I am super excited to share the details with you all today.

First, start off by spray painting the pieces of the Display-it-All, two coats of white spray paint covered it nicely. While your stand is drying, cut out your chipboard, paper, and recipe cards. I was able to find a pack of 25 recipe cards at my local craft store for $1.99, and used those as a template to size my chipboard and paper. I used my Round-it-All to round all of the corners to give the book a softer look. Punch your holes and bind with 3/4" Pink O-Wire and attatch to your Display-it-All stand.

Now you can start the fun part, decorating the cover and inner pages! I used a few simple images from my Silhouette SD to add some kitchen themed die cuts and tabs, tied some coordinating ribbon to the O-Wire, and I have a one of a kind recipe book. Hope I have inspired you to create your own sweet recipe book today.

Best,
Heather 
Front Cover of the Recipe Book. I used 2 cupcake liners to make an
easy and cute flower on the front.
I added lots of recipe cards and also a few blanks pages to add pictures.
                                    The rolling pin and tabs were cut using my Silhouette


Zutter Products Used:

Other Products:
*Pink and Blue Cardstock
*Cupcake Paper, The Paper Studio
*Recipe Cards, The Paper Studio
*Cupcake liners
*Satin White Spray Paint
*Ribbon
*Silhouette SD Macine for die cuts

Wednesday, May 23, 2012

3"X4" Journal

Hello everyone, Nicole here today to share with you an altered journal I made for my sister using my Zutter Bind -It-All, Round-It-All, 3/4" Pink O-Wires and a pack of 3"X4" Clipboard Wood Covers. 


One of the things I love the most about using Clipboard Wood is that you can alter it. Initially, I was going to cover the Clipboard Wood with patterned paper, but after I thought about it, I thought the textures in the Clipboard Wood would really shine through the mist. First I used my Round-It-All to punch the top and bottom right side of the Clipboard Wood.
 Then, I grabbed some mist and paint to alter the Clipboard Wood and flower.
White the mist and paint was drying, I decied to cut up some old note paper that I had lying around the house to use as my inserts.
After the pages were cut and the Clip-Board Wood was dry, I punched holes through them so that I could bind them together.
Then, I fed the pink 3/4" Owires through the Clip-Board Wood and papers, cut the wire, and binded them together.

Once the journal was binded, I decorated the cover with some beautiful bling, flower and sentimental stamp and I was done. I think this turned out pretty with the pink and green.
Zutter Tools Used:

Other:
  • Jewels: Zva Creative
  • Flower: Zva Creative
  • Mist: Tattered Angels
  • Paint: Tattered Angels
  • Sentimental stamp: Catslife Press

 Thanks for stopping by today and I hope you enjoy the rest of your week!


Friday, May 4, 2012

Sweet and Lovely


Hello, hello, hello there!
Candice Elliott here for my first design
team post for Zutter Bind-It-All and boy is it exciting.

Today we will be taking a glimpse into
a little of my life, creative style and processs,
and ofcourse some wonderful uses
for Zutter Innovative tools.

Looking back a little over 7 years ago
one thing that has not changed about
me is loving lots and lots of layers.
I really didn't notice it then due to
just giving scrapbooking a try. The more I
created the more constant it became
for me doing so. 


What Zutter has done for me now
in my creative growth is opened up
a brand new door for endless possibilities.


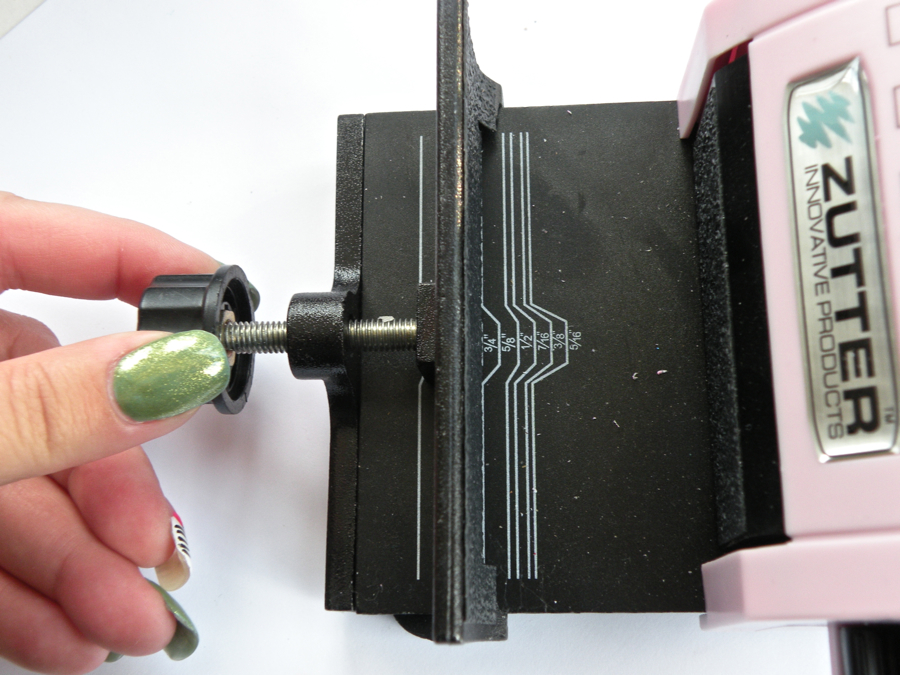
I just have to say that Zutters Clip Board Covers
and Zutters Acrylic Covers only fed my passion
for layering. It was the first thing that popped
into my mind!


Most often in my creations I tend to
focus on the joy life has to bring.
In this album titled Sweet and Lovely
I wanted to focus on not only the
joys but also the tears and trials
along the way. You could say that
I created this album solely for myself.
I wanted to focus on the amazing things
you can create with Zutter Innovative tools and
products!!!


I wanted to focus on motherhood....


I wanted to focus on love....


I wanted to focus on what makes me just me
and my creative style.
Bit by bit and piece by piece in life
and in all my projects I walk a little bit further
and grow a little bit wiser.
Well that concludes my very first post
and I truly hope that it was enjoyed by all.
I am looking forward to sharing more
and spending some creative time with you.
Thank you!
Zutter Products:
Other Products Used
  • Hydrangea Hippo ribbon, flowers, lace, and buttons
  • Amercian Crafts patterned paper, embellishments
  • K&Company patterned paper
  • Sassafras sticker elements
  • Echo Park sticker elements
  • Prima flowers, packaging, letters
  • LilyBee punch out elements
  • Websters Pages fabric elements, journaling cards
  • Jenny Bowlin rub-on
  • KI lace paper

                                                            http://truedivinehand.blogspot.com/