Thursday, August 30, 2012

What's your number?

Hello ladies. Nicole here and today I have a fun tutorial for you. I am going to show you how to create a fun address/phone number book of your own. I'm thinking that this will make a great Christmas gift. Score! First cut 2 pieces of chipboard down to 4X4 and punch the top right and bottom right using your Round-it-All. Then use spray mist to alter the covers.
I found an address page on Maya Road's website and decided to resize the template to 4X4 and then I printed 50 4X4 address pages, front and back to use as my inserts. I cut 9 pieces of 4X4 patterned paper and then folded them in half to use as my dividers.Then I punched holes through each page.
After I punched each page, I fed the wire through each page and then used my Bind-it-All to bind the pages together.
Last, I decorated my cover and here's my final project. I love how it turned out.


  • Supplies:
  • Zutter: Bind-it-All
  • Zutter: 1" Owires in white
  • Zutter: Round-it-All
  • Other:
  • Clearsnap: Mist (Holly Berries)
  • Creative Memories patterned paper
  • May Arts: Flower ribbon in white and String
  • Jillibean Soup: Wooden Button 

Wednesday, August 29, 2012

Make Your Own Tri-Fold Frame!


Good morning Zutter friends, 

Pinky here today to share how to make your very own tri-fold frame from scratch
using your incredibly versatile Zutter Bind-It-All and Owires!
 Step 1. Trim out 4.5X6" chipboard. 3 pieces. 
 Step 2. Cover each piece (front and back) using patterned paper.
 Step 3. Using Bind-It-All- punch center binding holes on one side of each frame page.
(Use Cover Page setting).
 Step 4. Take middle frame page and punch out other side.
 This is what your frame pages will look like. 
 Step 5. Embellish and decorate pages. (or add photos)
 Step 6. Using 1/2"Antique Brass Owires & Zutter Bind-It-All machine- 
bind frame according to manufacturer directions.
 Stand your frame up and enjoy! Perfect to commemorate any occasion
or that work desktop. Easy, and totally fun. 


Monday, August 27, 2012

A Sweet Baby Book, Start to finish

Jennifer Priest here with a quick little video showing how to make a mini book from start to finish using one of the kits in my etsy shop. 


This video features the Sweet Baby Girl Mini Book Kit from start to finish. This same tutorial can be used for the Sweet Baby Boy Kit or you can substitute your own paper and create a book with any theme. I hope you enjoy this -- it goes pretty quick!


Posted by Jennifer Priest

Sunday, August 26, 2012

Junior memories book

Hello all. Nicole here. Where has the time gone? I can't believe it, but my baby sister is starting her Junior year of high school this month. Yikes. I feel so old. Last month while I was visiting my mom and sisters, Katie asked me if I ever made blank mini albums (which I never do), but I told her I could make here a few. In fact, I was really happy that she asked because the thing I love the most about scrapbooking is that I can make beautiful things for other people that are one of a kind. This month I had so much fun using some goodies from the Hydrangea Hippo Esty shop. Have you seen this shop? There are so many adorable trinkets, trims, jewels and so much more in this shop. You must check it out. This mini was a challenge for me since I am not used to creating minis without pictures but I think I did ok. And I think Katie's gonna love it :)


Supplies:
Zutter: 8X8 Cover-Alls in White
Zutter: Owire in Pink
Zutter: 4X6 Movable Pre-Punched Page Protectors
Other:
American Crafts, Echo Park, G.C.D Studios: Papers
Zva Creative: Jewels
May Arts: Trims
Tags, Flowers, Buttons, Trinkets, Leaves, Stickpin: Hydrangea Hippo Esty shop

Tuesday, August 21, 2012

A coloring book for Edward

Hello everyone. Nicole here. Lately, it seems like all Edward wants to do is sit on my lap so that he can demand me to draw pictures of cars, turtles, mommy and daddy. The list goes on :) I actually love this. I think that I might have a little artist, so I'm doing everything that I can to encourage him to find his creative side.
Since my son loves to draw, I decided to create him a fun coloring book using my Bind-it-All and Clipboards. This was such a quick and easy project and Edward loves it! Go ahead and try creating one of your own. I bet your kids will love it too!
Supplies: Zutter: Bind-it-All Zutter: 6x6 Clipboard Wood Zutter: 1" Antique Brass Owires Other: American Crafts: Chipboard Alphas Clearsnap: Smooch (Mocha) Clearsnap: Mix'd Media Inx (Patina, Truffle) Clearsnap: Glue Gloss

Sunday, August 19, 2012

In The City


Greeting to all today!
I take it that school is now in
session for everyone.
I just finished myself registering
and can't wait to get started.
With a little bit more extra time
for us crafters I am sure
we are making good use of
it with some extra creating.

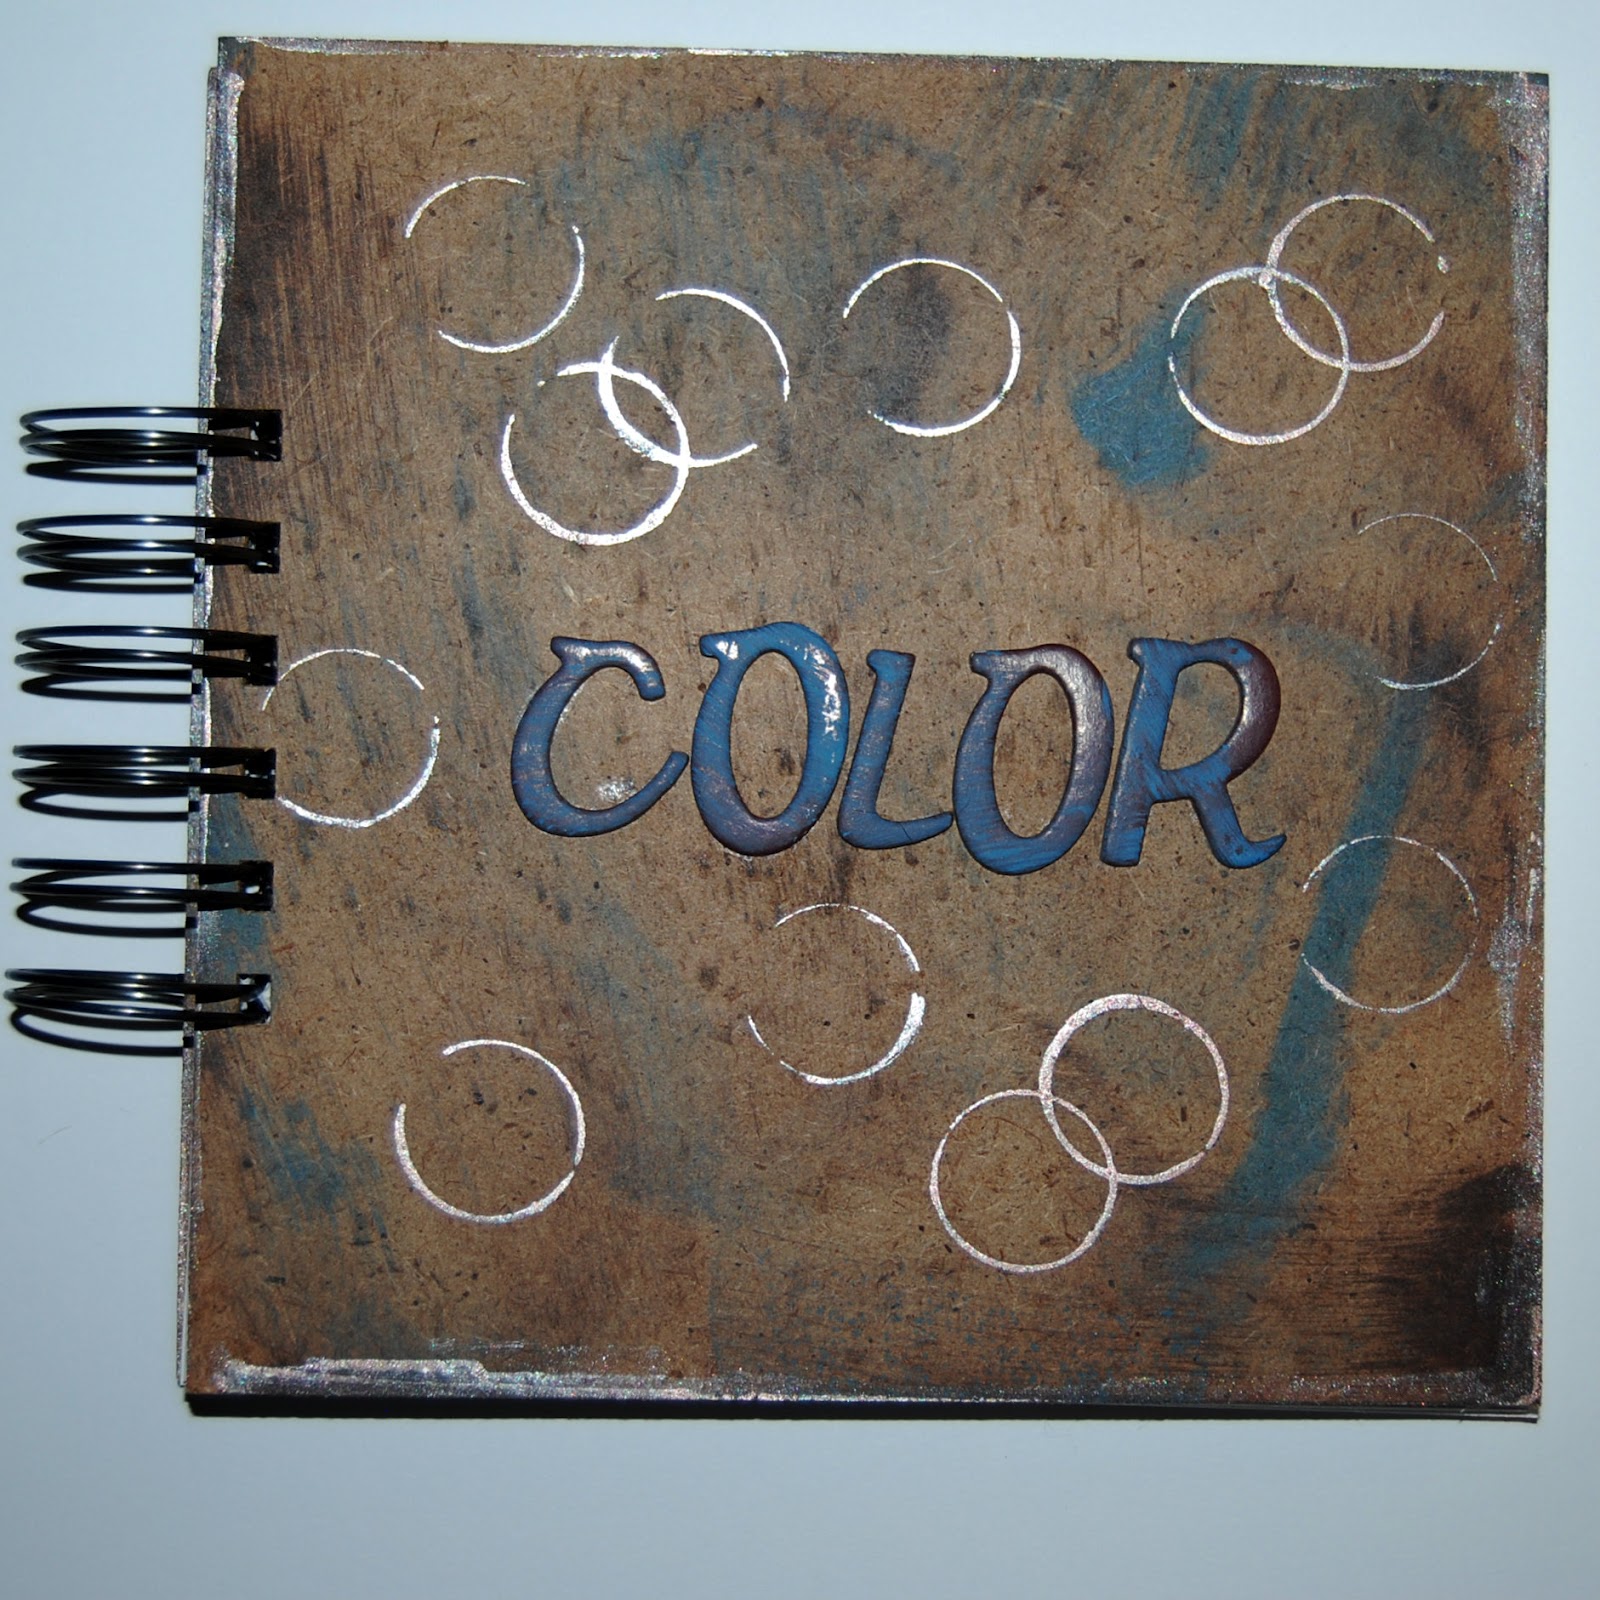
Here is an album I created
titled In The City. Hubby
and I spend quite some time
out and about on the
bus to different places.
It is interesting to capture those
unplanned moments on
the move. This album
was born for such memories.
Enjoy!


Downtown

Santa Monica

Checking bus schedule

So much to see,
so much to snap!
Thanks so much for stopping by
and letting me share! It is
always a pleasure


.
3. SEI Mulberry Kit
4. Prima Say-It-With-Crystals
5. Momenta Travel Dimensional Stickers
6. DCWV School Paper Pack


Saturday, August 18, 2012

Meet Our Certified Educators: Cheryl Boglioli

Introducing Cheryl Boglioli, one of our Certified Educators!


Cheryl Boglioli is a Florida native, a wife, and a mother of one beautiful daughter.   She is a mixed media artist, craft designer, and educator who loves to stay on the cutting edge of new products and techniques as it pertains to the crafting industry.  She achieved a CHA Designer Member status in 2011 and in 2012 became a full-time designer and educator traveling and teaching workshops at local scrapbook stores and events.  She currently works with several manufacturers in the industry including Tattered Angels, Canvas Corp, Basically Bare, Helmar and Zutter.  


Friday, August 17, 2012

Tea Party

Hi everyone, Nancy here today to share with you a mini album to go with the teacup mobile I made a couple of weeks ago.  (If you missed that project you can see it here.)  Once again, I used my Cricut to cut the chipboard and my cardstock; and used my trusty Bind-it-All to bring it all together.  I love that about my Bind-it-All...I can cut just about any shape and turn it into a mini album.  I chose to use one inch, white o-wires to hold this little book, which measures about 5 inches across the top, together.
I filled the mini album with lots of yummy papers and chipboard from the Daily Junque collection from Pink Paislee and a few odds and ends from my scrap table including Prima flowers, lace and trims; as well as some Basic Grey Canvas, a couple of older Autumn Leaves buttons, and a resin piece from Melissa Francess that I colored with some alcohol markers.


Here is a close up of the front cover which also has a large pink flower from the Hydrangea Hippo store. 
I was hoping to use this little mini for an upcoming party my daughter is hosting.  But she really wanted to use it now, so we filled it with photos from her third birthday party.  

Thanks for stopping by.

Hugs.

InLinkz.com
Zutter Items Used
Bind it All
White O-Wires
Chipboard

Non Zutter Items:
Patterned Paper & Chipboard: Pink Paislee
Flowers:  Large Pink Hydrangea Hippo
Other Flowers: Prima Marketing
Resin: Melissa Francess
Laces: Prima Marketing
Cording: Crate Paper
Alphabet Stickers: Making Memories
Buttons: Autumn Leaves
Stick Pin: Prima Marketing
Alcohol Markers:  Bic Markits
Jewels: Prima
Teapot charm: Unknown
Canvas tags: Basic Grey

Nancy