Showing posts with label Echo Park Paper. Show all posts

Thursday, September 20, 2012

Keep Forward


Hello Zutter world!
Today we are going to take a little
look at my Keep Forward album.

Big Picture just had a festival
Big Ideas Festival in which there
were a series of in depth challenges
for us to search a little deeper into
what we do.
For this particular challenge it
was to set up a layout or page
of that one goal or dream
we are working on.
I decided to set  up an album
to place my goals in but it doesn't 
stop there.
We actually have to move on them
meaning whether it be something small
or big each day just take a step or
two towards that goal.
I have quite a few but there are
key goals that take priority over all.
This album will be dedicated to
those.

           
There are a number of hard cover pages
and Zutter inserts so that I will
have plenty of space to document
my step-by-step process.
This particular album will be
put to good use for sure.
Hopefully we all will continue to
challenge ourselves to dig a little
deeper in our craft and 
continue to grow in it.
Thank you as always for letting me share!


5. Pink Paislee Digital Kit Happy Now
6. Bella Blvd. Stickers Sophisticates 
7. Echo Park This and That Stickers
8. Prima Stamps
9. Elle's Studio Tags
10. K&Company Smash Marker


Saturday, June 9, 2012

Animal Crackers Pocket Album Tutorial

How are we all doing today! I hope all
is well especially now that summer is
in full gear.
Today we will be putting together a pocket
album which is super easy and fun!
With a few simple supplies this
album turns out stunning.
Let's begin!!!

Select a few sheets of 12x12 paper which
will in turn be your pockets.
Evenly measure out 4 inches across which
will render 3 strips that will create pockets. It is totally up to you
how many pockets you want in
your album.


Take one of your strips and score/fold about
6 1/2 in mark horizontally.

Measure about 1/2" in on both sides
vertically also scoring/folding at marks.

It looks like so:

At the horizontal folds cut both corners
in an angle like so (see photo). This will make it
easier to fold the sides in clean and neat.

Apply glue to the insides of the 6 1/2 in. sides
and adhere down.

To the other sides, apply glue to the
outside of the sides, fold in half, and adhere
to the other end.

It will look like this!
Easy, right!?

Now gather the rest of the strips and 
repeat the same steps.


If you desire, a half hole can be cut out
of the shorter end of pocket to
create a notched look.
Make sure that it is cut out first
before adhering. 

After all the pockets are dry break out
your Bind-it-All and start punching away.

After assembly, you will have your
very own pocket album to
embellish to your heart's content.
The pockets also serve as extra places for
pictures, notes, etc.!!!
Here is what I did with mine:
                                        I love the end result. Now this album is ready for some
                                                                     great memories.


                                                   Hope that you enjoyed this post and please share your
                                                   pocket album. We would love to see it!!!


Supplies:
  • Bind-It-All V2.0
  • Pink 3/4" Owire
  • Sassafras
  • Basic Grey
  • Echo Park
  • American Crafts
  • Cosmo Cricket
  • Momenta
  • Lily Bee                                        


                                                              truedivinehand.blogspot.com
.

Sunday, May 6, 2012

A Little Kindness Goes A Long Way.......

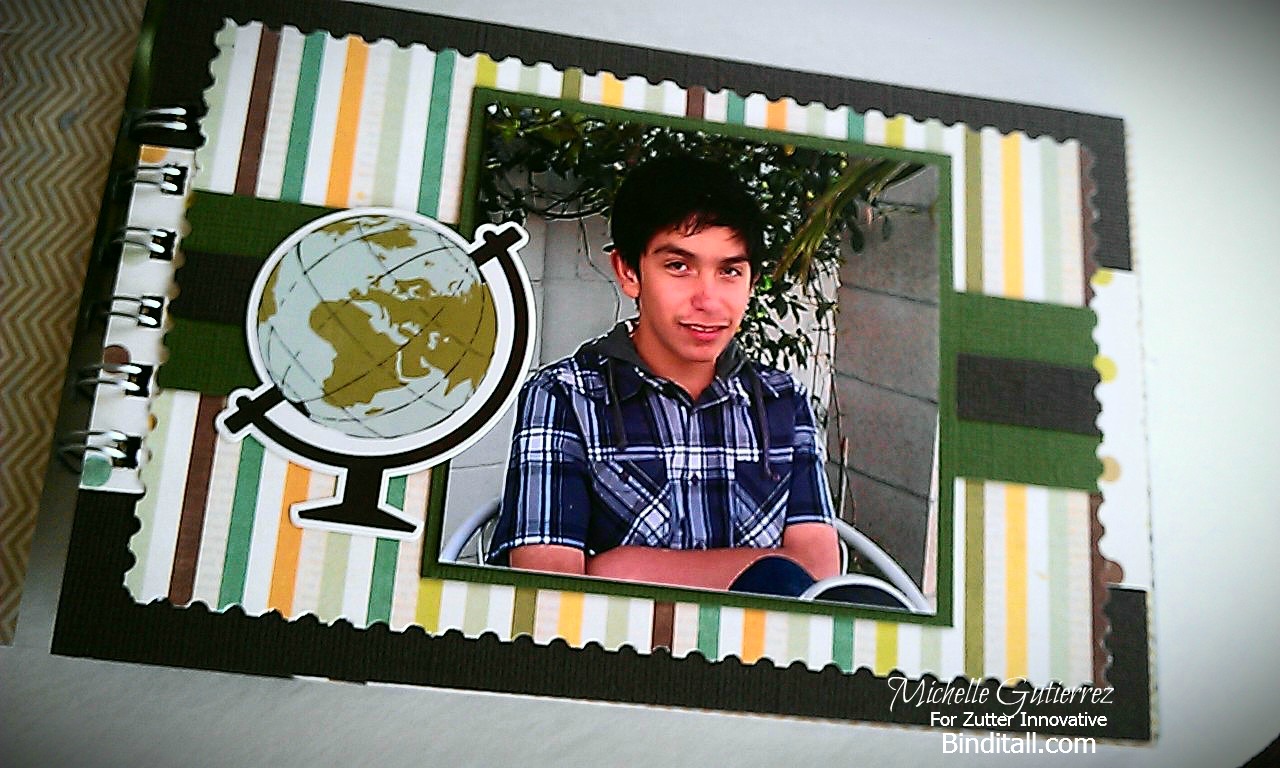
Happy Sunday everyone! This is Michelle Gutiererez here for Zutter Innovative with my 1st blog post. I am so excited to share this acrylic album I made! 

This handsome young man is one of the kindest well mannered kid I know. No matter what he does, it is always with a "please" and "thank you". Teaching us all the a little kindness goes a long way....... a simply amazing kid, my Vincent is.


I cannot tell you how much I love my Zutter Bind It All V2 tool. It all starts with a vision, my Bind-It-All, 7.5"x 5" clear acrylic album  and all the fixings to create an awesome mini album. 


I used 1/2"  Silver O-Wires to bind the acrylic album together. 


Use the Centering Arrow in the middle of the holes printed on the Bind-It-All (above "T" in "Zutter") to center the book  to place the binding in the center of the acrylic album pages.   Continue with each page int he album and arrange the pages in order. Flip the back cover of the book towards the front and insert the O-Wires from the back pages of the book, through the covers. Then use the Bind-It-All to close the O-Wires. Be sure to use the plastic O-Wire templates included with your Bind-It-All to set the machine for the proper size of O-Wire before closing.

How awesome is it that you can create an album what ever size you want using the Bind-It-All!

Here are all of the pages of the assembled album:


Supplies Used:
  • Album - Clear Acrylic 7.5"x5" Zutter Innovative
  • 1/2" Silver Wire - Zutter Innovative
  • Paper - This and That by Echo Park
  • Element Stickers - This and That by Echo Park
  • Rhinestones - Kaisercraft
  • Ribbon - Maya Road
  • Alpha Stickers - Authentique Paper 
  • Adhesive - Tombow Mono
Tools Used:
  • Bind It All V2.0
  • EK Success Stamp Punch


Always,
♥ Michelle