
It's that time of year again--say "goodbye" & "thank you" to the teachers with a little gift, say "congrats" to the grad with a fun little something to start their new career, and say "we love you" to Dad. So many gifts, so little time, right?!

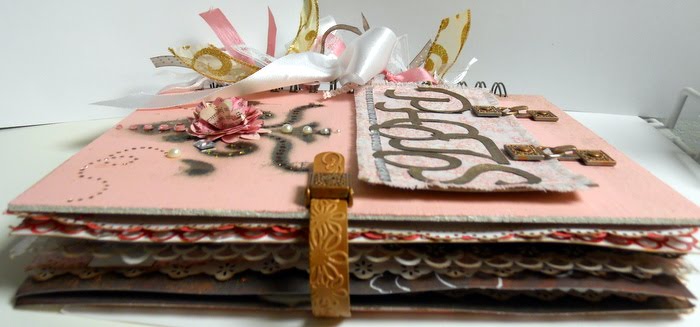
Well, this project is super easy (and affordable) to make and a great gift for a dad, grad, or a teacher.
 Here's what you need:
- 8x10 Zutter Clipboard Wood (or Zutter 12 x 12 Chipboard Cover cut down to 8x10)
- Donna Salazar Crafty Chronicle Newspaper or map style patterned paper
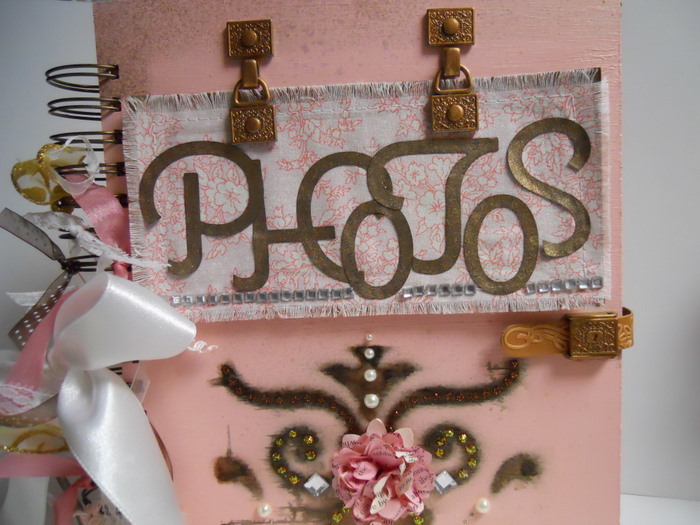
- Donna Salazar Memory Mosaics Alphas or a word sticker (Family, Dad, that kind of thing)
- 3x3 Cork Square (available from office supply stores or home improvement stores)
- 3x3 Post-It stack
- 2 yards twine
- Push Pins
- 5x7 photo
- Patterned Paper cut to 5.5 x 7.5 to mat photo
- Ink
- Zutter Rivet Setting Tools
- Sandpaper or file
- Self Adhesive Velcro Set
- Pen
- Adhere the Crafty Chronicle newspaper (or map paper) to the 8x10 Clipboard wood and sand edges until smooth.
- Mat photo to paper and add to top of 8x10 Clipboard Wood.
- Adhere the cork board and the Post-Its to the bottom of the Wood as pictured, slightly to the left.
- Stick one side of the Velcro to the pen and the other piece to the Wood, on the right hand side.
- Punch a hole in each top corner of the Wood with the Rivet Setting Tools. Tie twine through the holes to make a hanger.
- Ink the edges of the project.
- Write a message to the recipient on the Post-It note. Add push-pins to cork.
- Add "Family" word or sticker to the photo (on the bottom left side).
- Wrap & give ;)
Enjoy!
OZZ DT Member Jennifer Priest


 Finally, in order to organize my cards, I used


%20copy.jpg)
